
A few years ago, plant collecting felt a bit like a mad science hobby mixed with expensive dreams. You’d scroll through rare plant listings and think, “Is this plant made of gold or leaves?”
Some prices were honestly wild. A single rare plant could cost more than things you actually needed in life.Most people simply exited the page and moved on.
Then Tissue Culture Plants entered the scene, and everything changed.
Suddenly, rare plants became affordable, accessible, and everywhere. No second mortgage. No begging a collector for a cutting. Just a small lab-grown plantlet arriving in a cup, looking like it just stepped out of a science experiment.
And here’s the funny part.
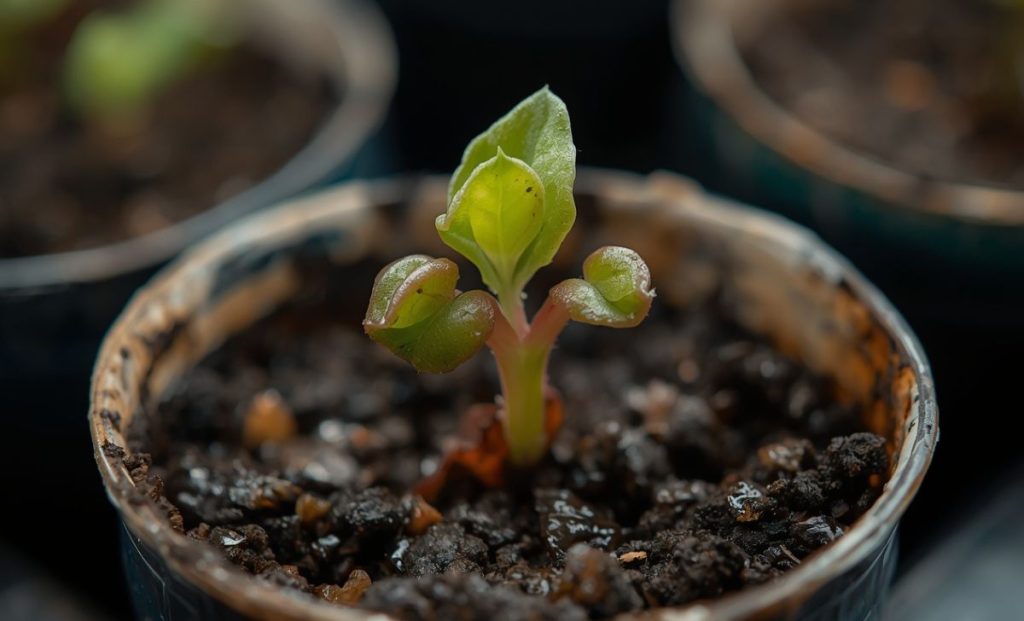
Most beginners open that cup and panic.
It looks tiny. It looks fragile. Sometimes it looks like it’s questioning its own existence. Yet, that is precisely the moment the true adventure unfolds.
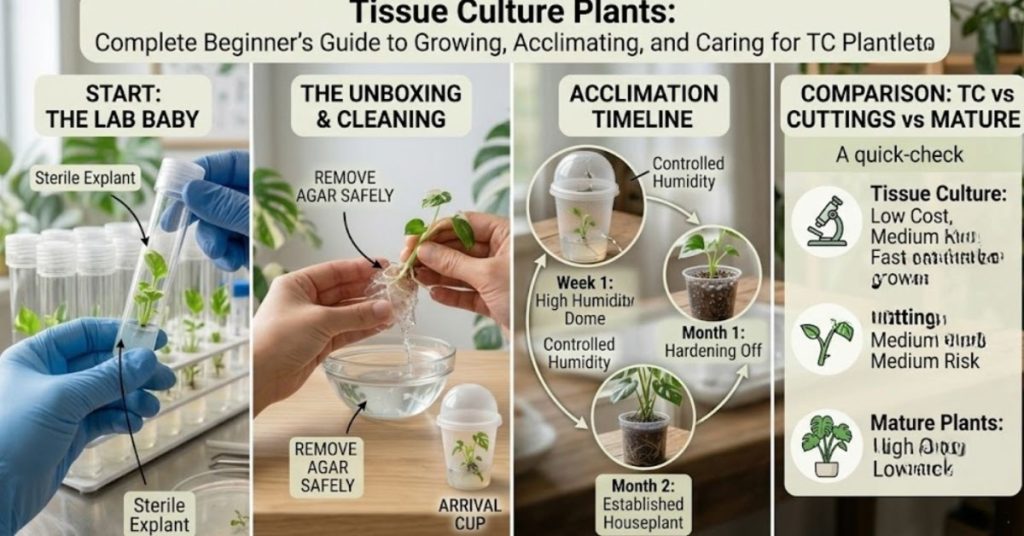
In the following sections, I’ll provide a simple, step-by-step roadmap to help you successfully acclimatize your laboratory-grown plantlet into a robust specimen without any frustration.
Quick Answer Box
What Are Tissue Culture Plants?
Tissue culture plants are small plants grown in a sterile laboratory from a tiny piece of plant tissue. They are developed in a nutrient-rich agar medium under sterile laboratory conditions until they form roots and leaves. These plantlets are then transferred into soil and carefully acclimated to normal environments. They are popular because they are affordable, disease-free, and ideal for producing rare plant varieties at scale.
What Are Tissue Culture Plants?

To produce tissue culture plants, horticulturists rely on an advanced cloning methodology called micropropagation. Scientists can bypass seeds and cuttings entirely by taking a microscopic piece of plant tissue (an explant) and raising it inside a sterile, monitored environment.
That tiny piece doesn’t stay tiny for long.
With the right nutrients, hormones, and conditions, it develops into a complete plant.
This happens inside a sealed container filled with agar medium, which provides water, nutrients, and stability.
The result? Dozens or even hundreds of identical plants from a single parent plant.
Understanding Plant Tissue Culture in Simple Terms
You can think of it as creating multiple copies of a plant from a tiny piece of the original.
A healthy plant is “copied” using a small tissue sample.Operating under completely sanitized conditions ensures that the danger of pests and diseases is virtually nonexistent.
This is why tissue culture is widely used for rare plants and commercial production.
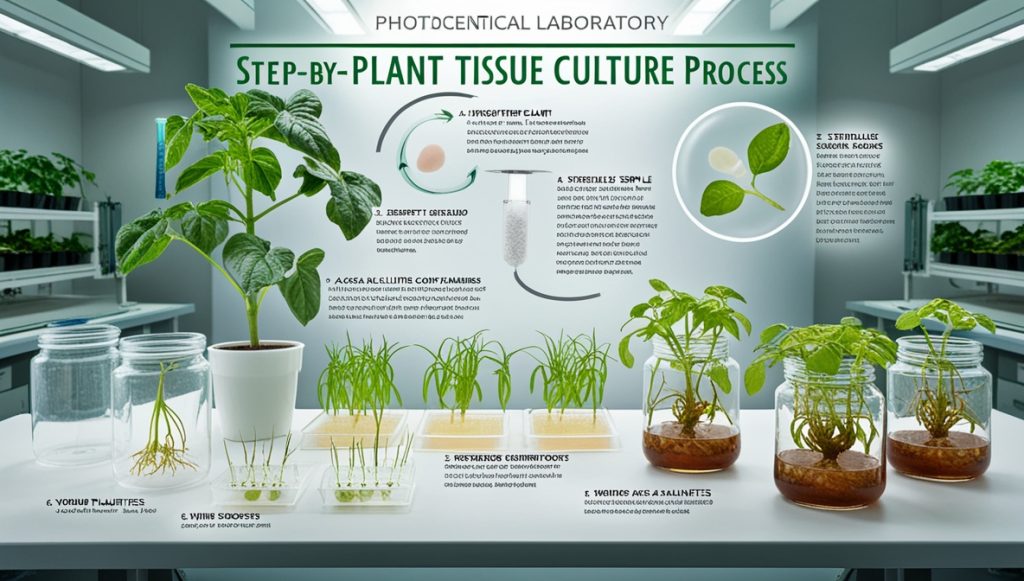
How Tissue Culture Works Step by Step
- A healthy plant is selected
- A small tissue piece (explant) is taken
- It is sterilized carefully
- It is placed on agar medium with nutrients
- Shoots and roots begin to form
- The young plants are transferred from the laboratory and prepared for their transition to normal growing conditions.
By the time you buy one, it has already lived its “lab life.”
Why Tissue Culture Plants Are So Popular
Plant science was entirely transformed by the advent of micropropagation technology.
Prior to this breakthrough, unusual plant varieties were costly luxury items that were difficult to track down. Now, they are mass-produced, making them highly accessible and reasonably priced for everyone.
Access to Rare Plants
Plants that were once collector-only are now available to beginners. This is one of the biggest revolutions in modern gardening.
Disease-Free Starting Point
Because they grow in sterile laboratory conditions, they usually start free from pests and diseases.
Mass Production Efficiency
One plant can become hundreds. That means faster supply and lower prices.
Conservation Benefits
This laboratory method preserves uncommon plant species because growers no longer need to disrupt natural habitats to collect them.
Pros and Cons of Tissue Culture Plants
Advantages
- Affordable pricing
- Wide availability
- Clean, disease-free start
- Perfect for rare plant production
- Consistent genetic quality
Disadvantages
- Requires careful acclimation
- Sensitive in early stages
- Slow initial growth
- Higher beginner failure rate if handled incorrectly
Are They Worth It?
Yes if you’re patient.
They reward careful handling with strong long-term growth.
Tissue Culture vs Cuttings vs Mature Plants
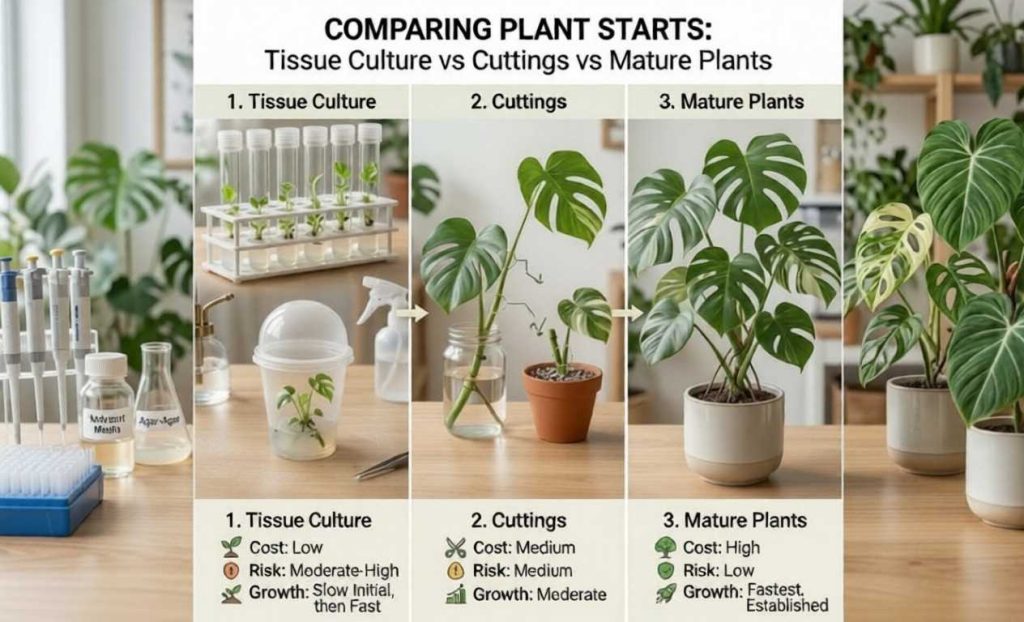
| Type | Cost | Risk | Growth Speed | Ease |
| Tissue Culture | Low | Medium–High | Slow initially | Moderate |
| Cuttings | Medium | Medium | Moderate | Moderate |
| Mature Plants | High | Low | Fast | Easy |
If you’re a beginner, mature plants are easiest. But tissue culture gives the best value and rare plant access.
What to Do When Your Plant Arrives
This stage decides everything.
Inspect First
Check roots and leaves.A plant with good health will feature roots that feel sturdy and appear whitish or cream-colored.
Prepare Before Opening
Keep ready:
- Small pot
- Light soil mix
- Clean water
- Spray bottle
- Humidity cover
Work Clean
Always use a clean surface. Young tissue culture plants are especially delicate during the first few weeks of adjustment.
Removing Agar Safely
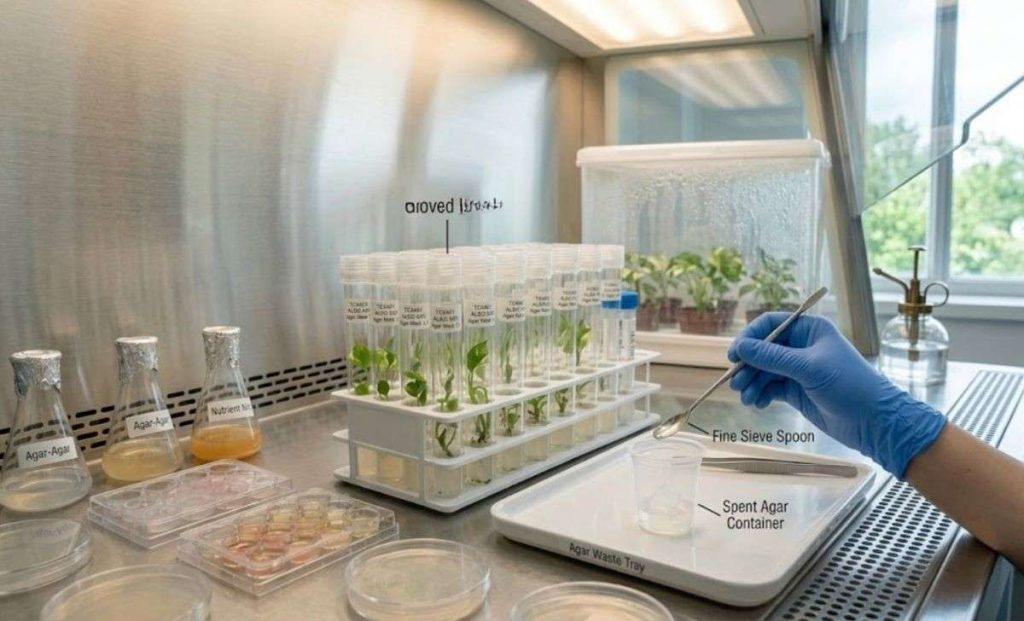
The agar medium is useful in labs but harmful in soil if left behind.
Why Remove It?
Failing to wash away residual agar creates a moisture trap that frequently triggers rot.
Cleaning Method
- Remove plant gently
- Wash roots in lukewarm water
- Slowly remove all gel
- Do not force roots
- Keep them moist during process
Potting Tissue Culture Plants
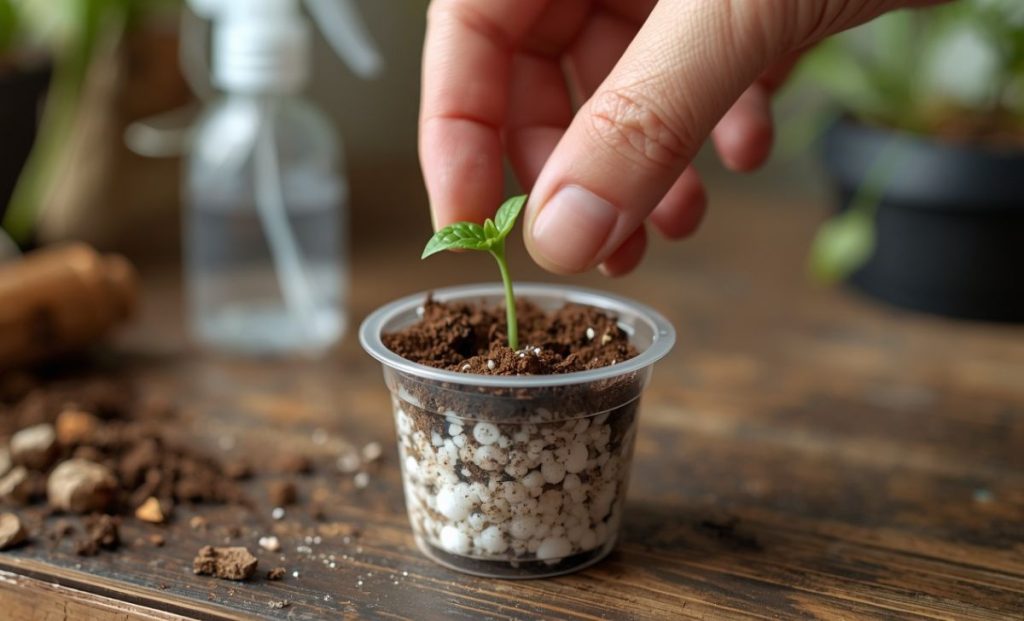
Best Pot Size
Small pots work best (2–3 inches). Bigger pots hold too much water.
Best Soil Mix
Use a light, airy mix:
- Coco peat
- Perlite
- Orchid bark
This supports oxygen flow and prevents rot.
Planting Method
Place roots gently and cover lightly. Do not press soil too hard.
Acclimation (Hardening Off)
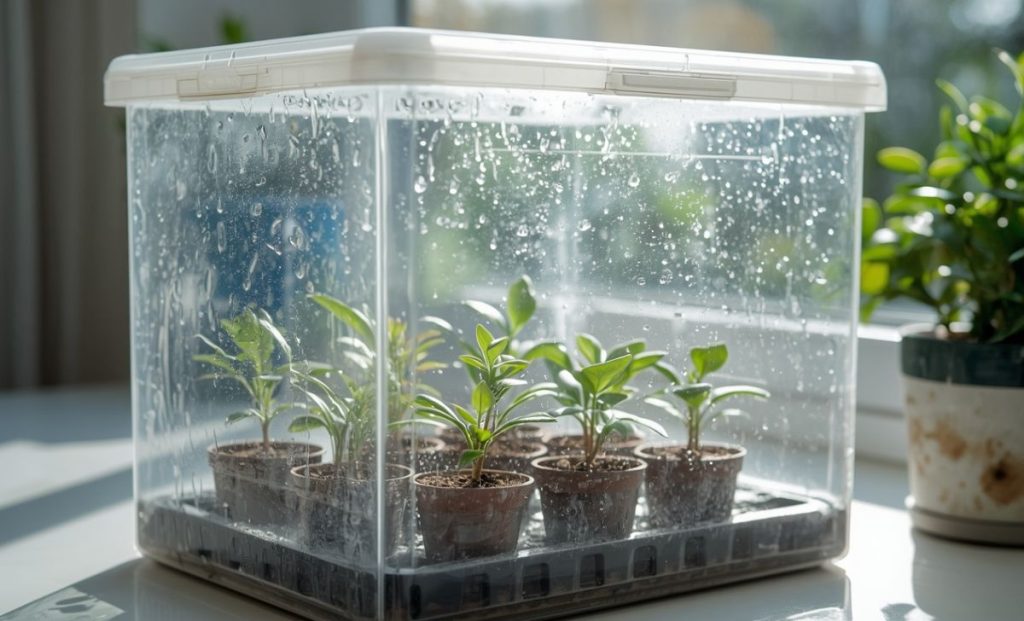
This is the most important stage.
Inside the lab, plants grow in perfect humidity. Outside, they struggle at first.
Why It Matters
Leaves formed in sterile laboratory conditions are not ready for dry air.
Humidity Shock
If humidity drops suddenly:
- Leaves wilt
- Edges brown
- Growth slows
This is normal.
Ideal Setup
- Bright indirect light
- 60%–80% humidity
- Stable temperature
- Gentle airflow
Week-by-Week Growth Timeline
Week 1
Adjustment phase. No visible growth.
Week 2
Roots start adapting.
Week 3–4
New growth may appear.
Month 2
By this stage, the plant has usually adjusted to its new environment and can be cared for like any established houseplant.
Watering Guide
Water carefully.
Overwatering Signs
- Yellow leaves
- Soft stems
- Mushy roots
Underwatering Signs
- Drooping
- Dry soil
- Crispy edges
Always check soil before watering.
Fertilizing Guide
Wait until the plant shows active growth.
Start with diluted fertilizer (¼ strength). Never overfeed young plants.
Common Mistakes
- Removing humidity too fast
- Overwatering
- Using heavy soil
- Direct sunlight exposure
- Early fertilizing
Common Problems and Solutions
Frequently Asked Questions
Q1:Are tissue culture plants safe?
Ans:Yes, they are safe and widely used in commercial production.
Q2:How long does acclimation take?
Ans:Usually 2–8 weeks depending on species.
Q3:Why is my plant not growing?
Ans:It may be focusing on root development first.
Q4:Can I plant directly in soil?
Ans:Yes, after cleaning the agar properly.
Q5:Do they grow faster than cuttings?
Ans:Not initially, but they become strong once established.
Final Summary
Tissue culture plants are not difficult, they just need understanding.
If you control humidity, light, and watering in the early stage, they will reward you with strong long-term growth.
Be patient in the beginning. That’s the real secret.
Once they adapt, they grow just like any other healthy plant, sometimes even better.
For more gardening tips, visit our [Home Page].
Pingback: Snake Plant Care Guide: How to Grow a Healthy Indoor Plant